How to Display Dependency Tree of Your Android Project with Gradle?
By Wajahat Karim • 09.Mar.2020
For Starters, simply run the command “gradlew :app:dependencies” in your terminal
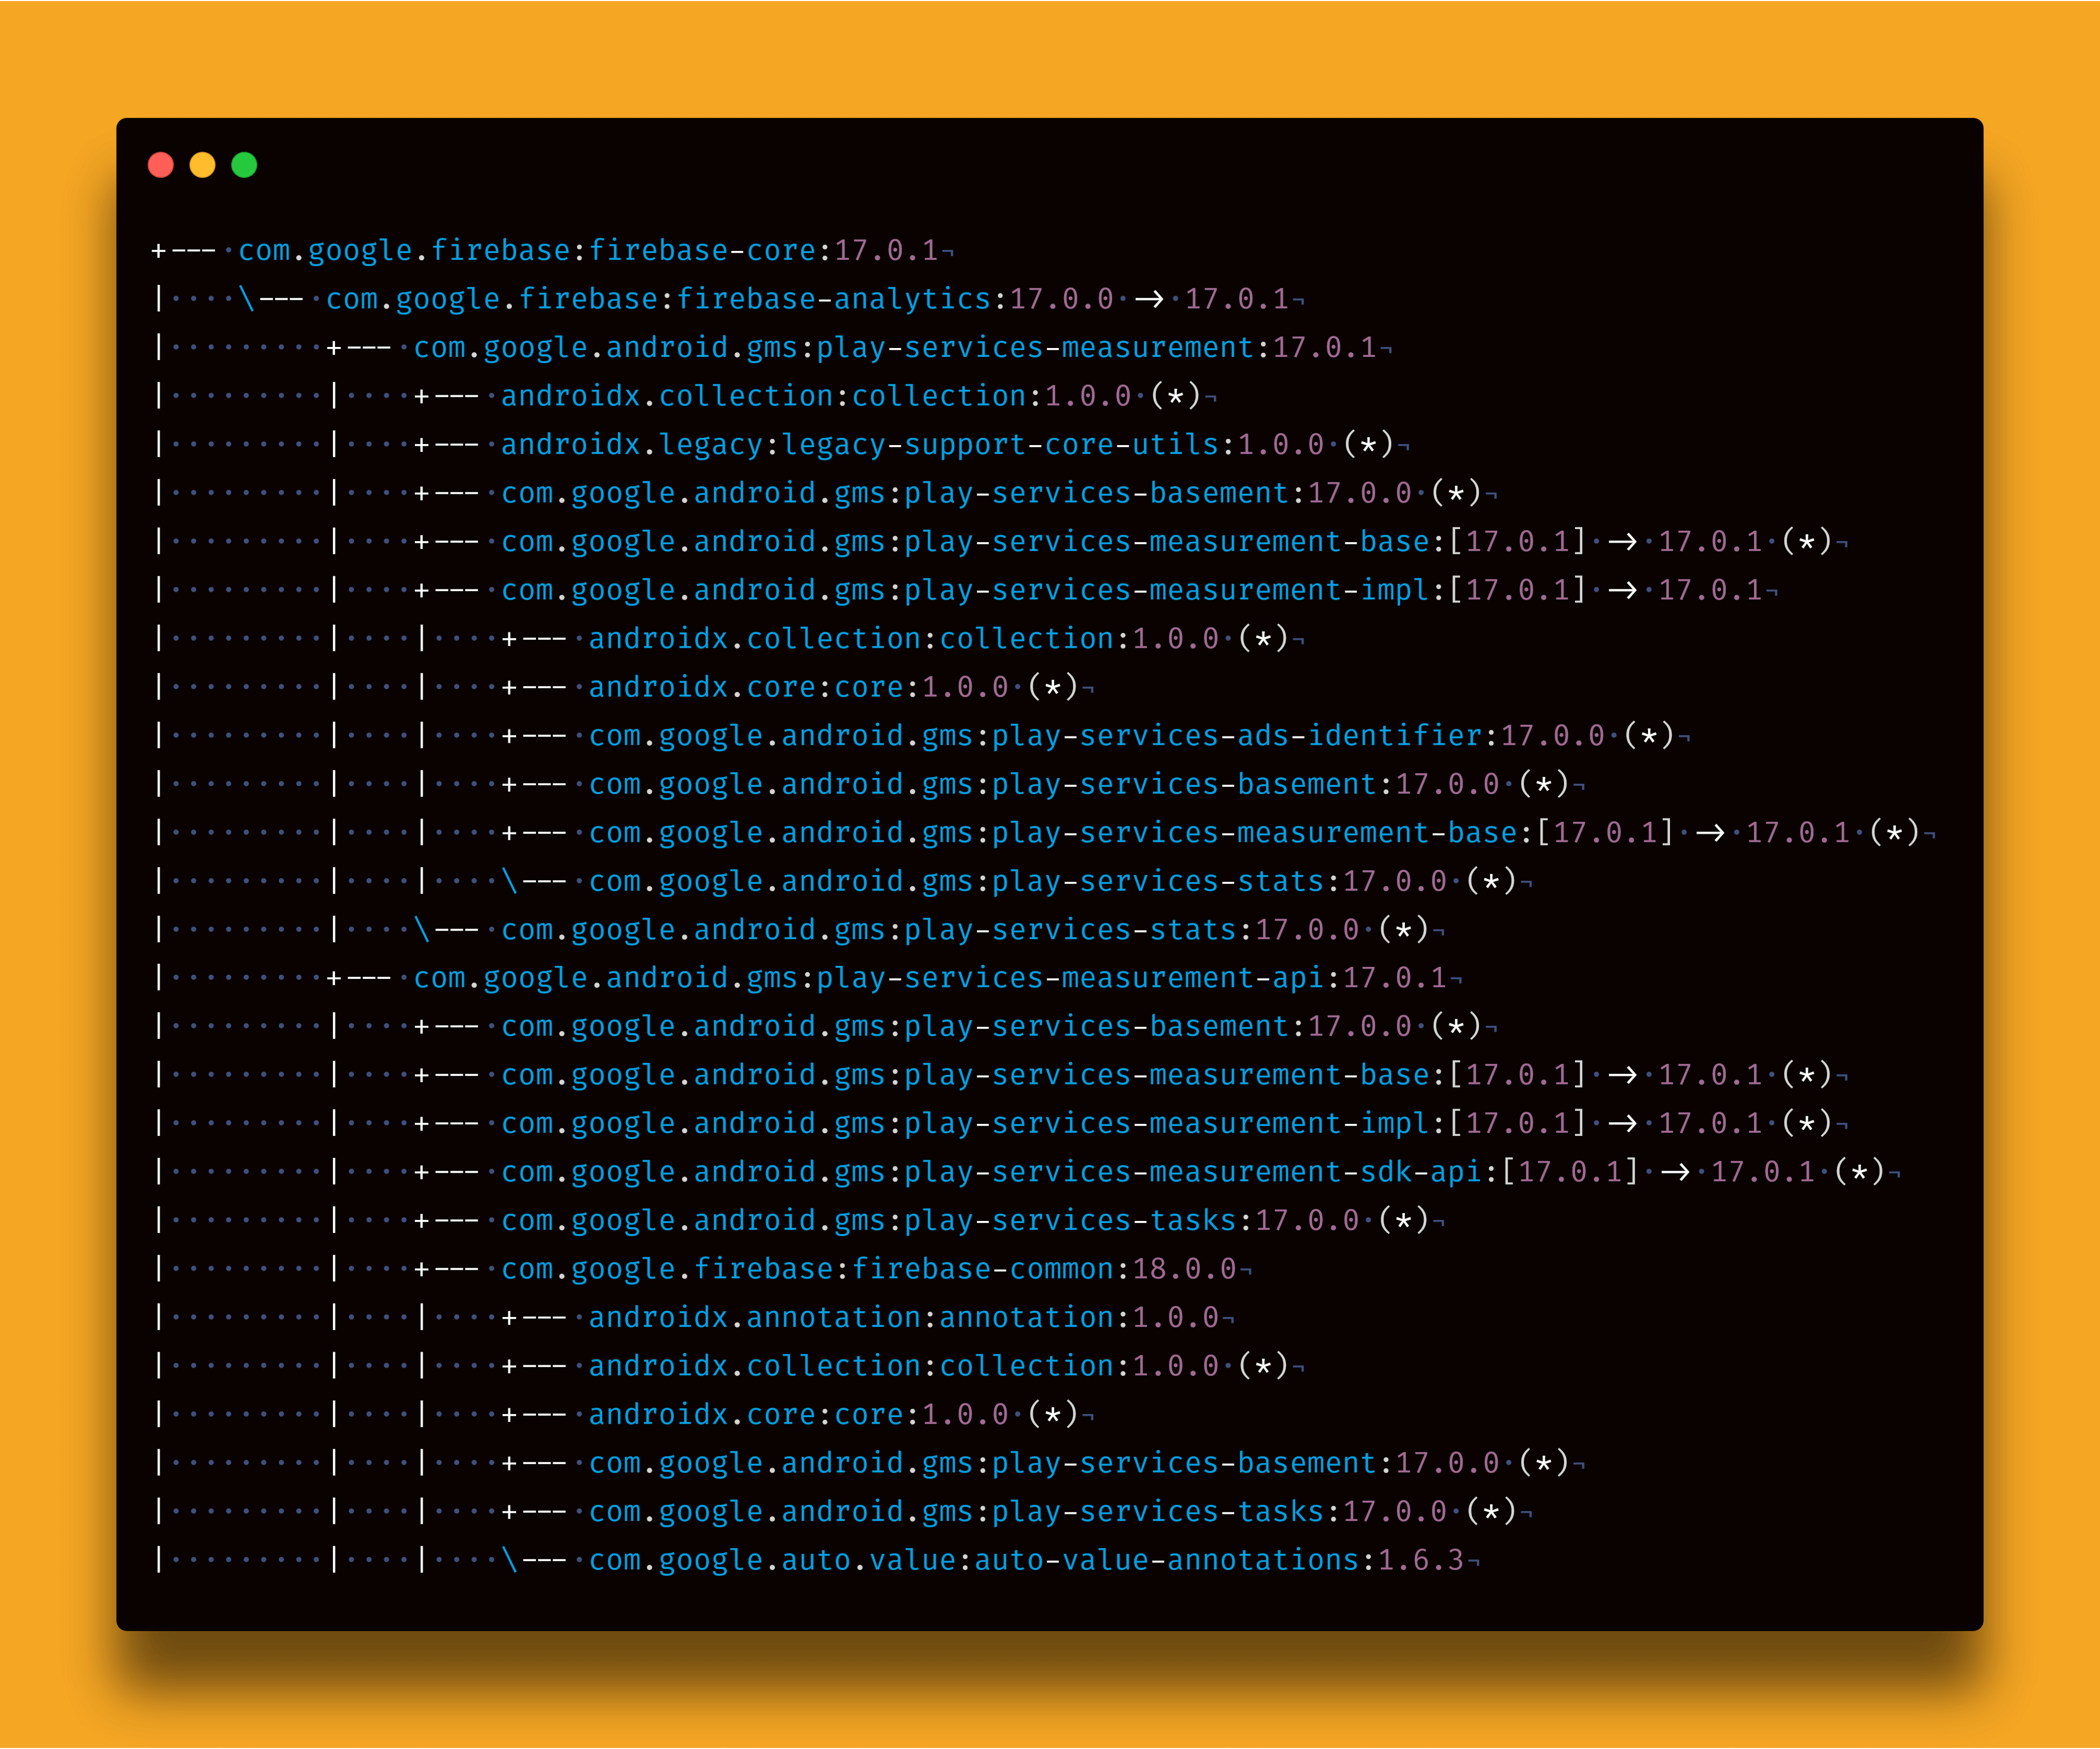
Recently, in one of my projects, we were stuck at a very annoying exception IllegalStateException: WorkManager is already initialized . We were pretty confident on we have only initialized WorkManager only one time, then why Android Studio is throwing this exception.
The initial hunch we had was there’s some other dependency in our project, which is using WorkManager and that’s why this conflict is popped up. We looked at the build.gradle file and realized that we haven’t added any such dependency in our project which might use WorkManager in any way.
Looking into different solutions like updating / removing dependencies, and plugins, and debugging the app line by line to see where and how it crashes, we simply couldn’t crack the problem. And that’s where it hit me suddenly.
Is it possible to view the whole dependency tree of our project?
Answer is yes. It is possible in Android Studio and even terminal too. This article is about different methods to see how you can view the whole dependency tree of your app.
How Gradle Dependency Tree Can Help You?
The Gradle Dependency Tree or Graph can tell you the about all the dependencies being used in your app in hierarchical way. It can help you with the version resolutions of same dependencies.
For example, your app is using Retrofit version 2.1 but there’s some other dependency in your app which is using Retrofit version 2.2. So, Android Studio will try to upgrade the dependency to the latest version i-e 2.2 for your whole project. Now, if there’s the big difference between old version and new version and require refactoring changes, this can be a problem for your app.
Gradle dependency tree can help you detect these kinds of issues. It can also help you in detecting the dependencies which are not being used directly in your app but rather these are being added by nested dependencies.
Now, let’s see different ways to view the Android app’s Gradle dependency tree or graph.
1. Through Android Studio Gradle Panel
This is the most easy and accessible method directly through Android Studio. Click on the Gradle tab on the right side and then expand:yourmodule -> Tasks -> android . Finally, double click on androidDependenciesto run it.
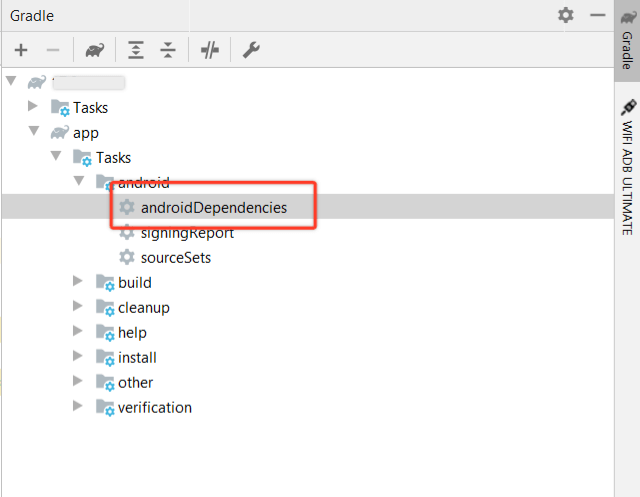
This task will print the whole graph in your Android Studio console like the image below:
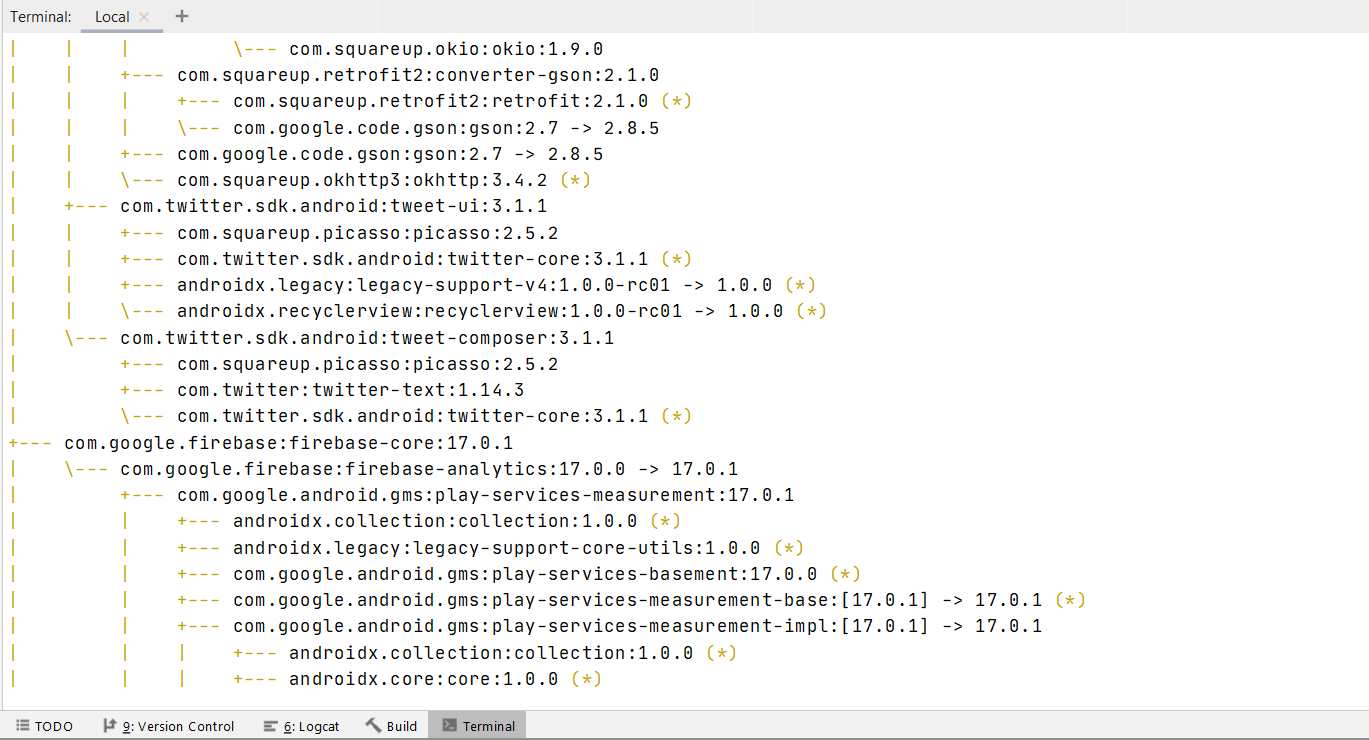
2. Through Dependencies Command
This is similar to 1st option. Only difference is that you will be doing it manually by running a command in terminal. You can use either Android Studio terminal or your own choice terminal at the root directory of your project. Simply enter this command.
./gradlew yourmodule:dependencies
The yourmodule is the name of the module you want to see dependencies for. For example, for your app, you can use it as app .
Additionally, if you want to check if something is compile, testCompile, androidTestCompile, implementation, testImplementation, or androidTestImplementation dependency as well, you can do so with the configuration parameter like this:
./gradlew app:dependencies --configuration implementation
./gradlew app:dependencies --configuration testImplementation
./gradlew app:dependencies --configuration androidTestImplementation
3. Through Gradle Build Scan
If you don’t know about Gradle build scans, these are the “X-ray for your Gradle and Maven builds” according to their website. They were introduced in Gradle 4.3 plugin.
Using Gradle Build Scans is probably the most easiest and clean way to analyze not only the dependencies of your project but also other build information.
All you have to do is add --scan at end of any Gradle command in terminal. For example, for viewing the whole dependency tree, you can use this command:
gradlew app:dependencies --scan
After the command ends, you will be asked for a confirmation on whether the build report should be generated or not. Type yes and you will get a link to the report.

Open this URL and enter your email. And you will get access to your build in your inbox in a few minutes. Open the build and head for Dependencies tab, and you will see something like this:

You can see that this has many other options like Performance, Tests, Plugins etc to provide you detailed insights about your build in a very nice formatted HTML page.
4. Through Project Report Plugin
If you don’t want to put email every time you compile your project and see the report in the Android Studio IDE, you can use Project Reports plugin. This requires a little code modification in your app’s build.gradle file. First, put this on top of your app’s build.gradle file:
apply plugin: 'project-report'
And after syncing your project, run this command in Android Studio terminal.
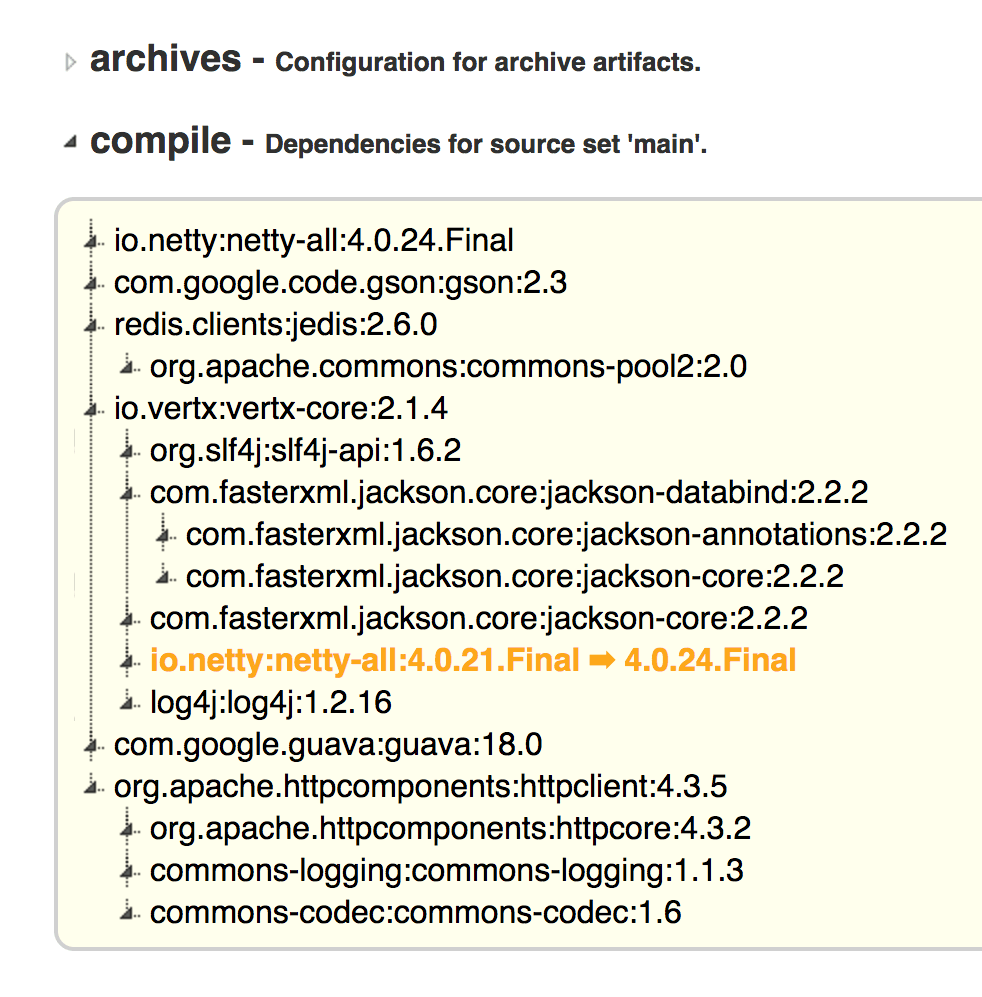
`gradlew htmlDependencyReport`
This will give you a local HTML file link in your console. Click on it and you will see a nicely formatted dependencies tree with expand/collapse options.
Special Mention — Gradle Dependency Graph Generator Plugin
There’s also this awesome third-party plugin created by Niklas Baudy which shows the visual dependency graph of your Android project like this:
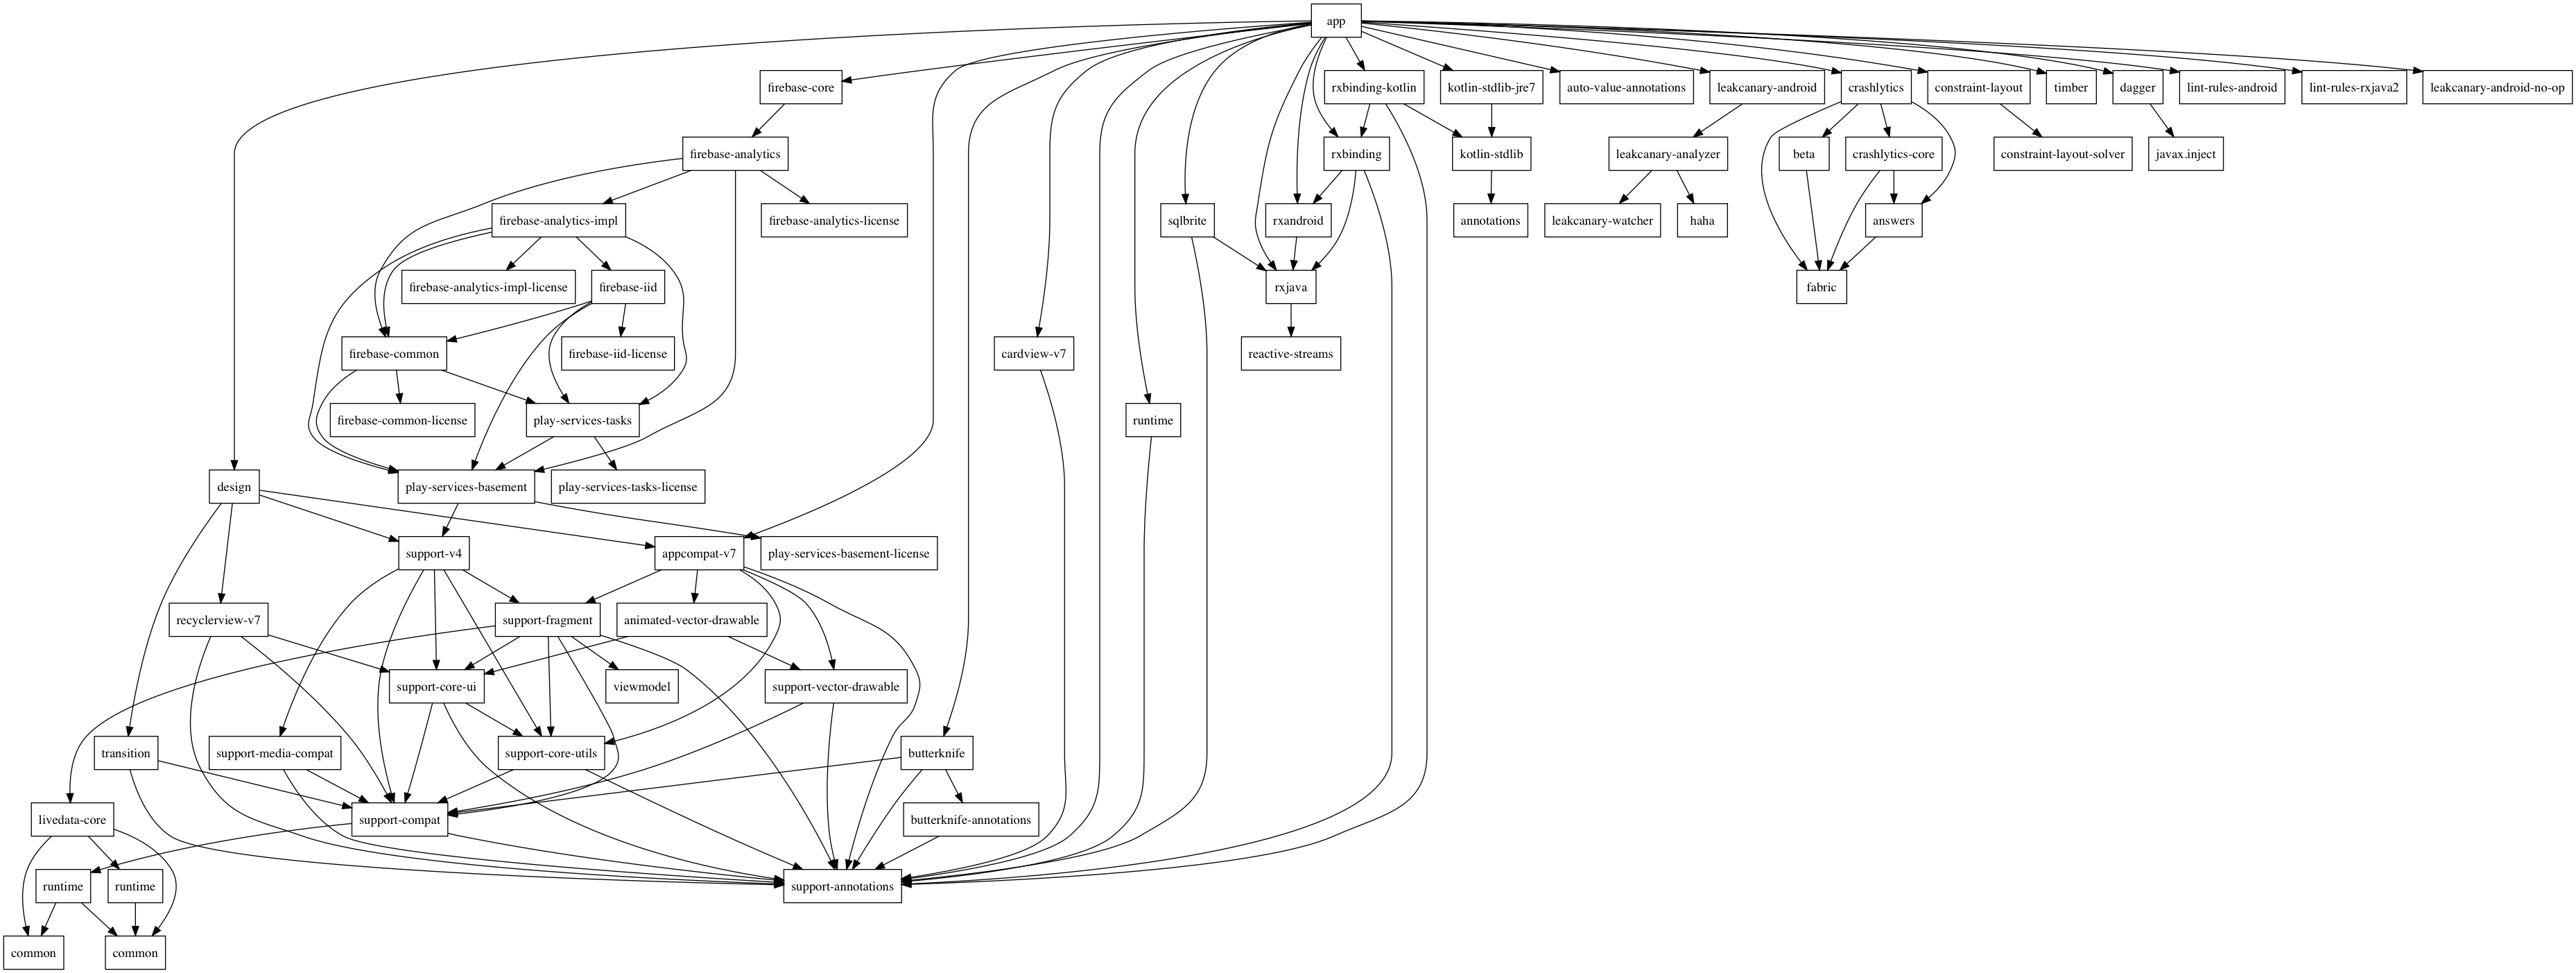
You can learn how to generate this graph by following the instructions available on his Gradle Dependency Graph Generator Plugin library at the following link:
{{% linkpreview title="vanniktech/gradle-dependency-graph-generator-plugin" subtitle="Gradle plugin that generates dependency graphs from your project. - vanniktech/gradle-dependency-graph-generator-plugin" link="https://github.com/vanniktech/gradle-dependency-graph-generator-plugin" thumbnail="https://avatars2.githubusercontent.com/u/5759366?s=400&v=4" %}}
At the end, please Subscribe to my newsletter DroidUp to learn learn about the latest things, tips, and skills in Android development manually handcrafted and curated by Wajahat Karim.