🚀Beginner’s Guide to Bottom Navigation with Android Jetpack — Part 2
By Wajahat Karim • 17.Jan.2020
This is the second part in a series of the articles about the beginner’s guide to using Bottom Navigation View with Android Jetpack Navigation Components.
In previous part, we learned some basic concepts about Jetpack Navigation. We then learned on how to integrate navigation components in your android apps and set it up with the bottom navigation. We learned to implement the following two cases in our simple Bottom Navigation Demo application.
- 🚀 Simple Bottom Navigation with Jetpack Navigation
- 🎨 Adjusting AppBar/Toolbar for Top Level Destinations
You can read the part 1 of this series here.
In this part 2, we are going to cover the following cases of Bottom Navigation with Navigation components:
- ☑️ Adding Menu Options in Some Screens
- 🗒 Creating Detail Screens for Some Screens
- 🛑 Quitting app on Double Back-Press Tap
Here’s the demo GIF of the final app created in this part of the series and its code is available on Github here.
💻 Let’s Get Started
Let’s start from the code after the first part. You can get it from the basic-bottom-nav-toolbar branch of the BottomNavArchDemo repository on the following link.
{{% linkpreview title="wajahatkarim3/BottomNavArchDemo" subtitle="The demo project for Bottom Navigation with Navigation Architecture Components article - wajahatkarim3/BottomNavArchDemo" link="https://github.com/wajahatkarim3/BottomNavArchDemo/tree/basic-bottom-nav-toolbar" thumbnail="https://avatars0.githubusercontent.com/u/8867121?s=400&v=4" %}}
Clone this and run it the Android Studio. I am using Android Studio 4.0 Canary version. But this should work in Android 3.6 version as well.
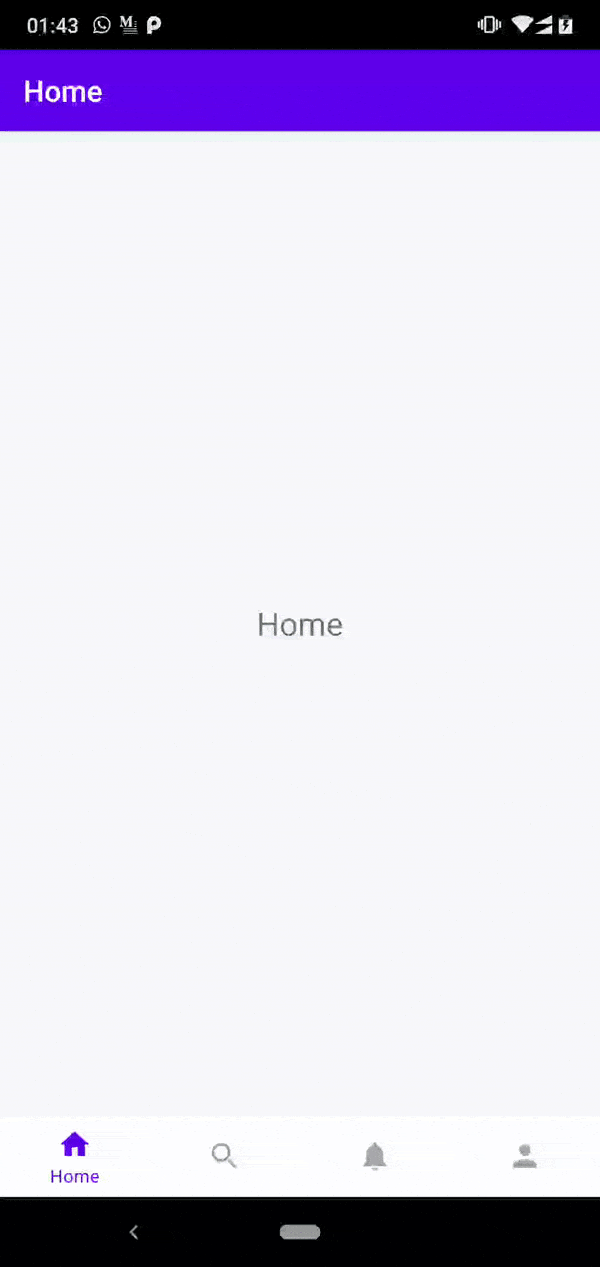
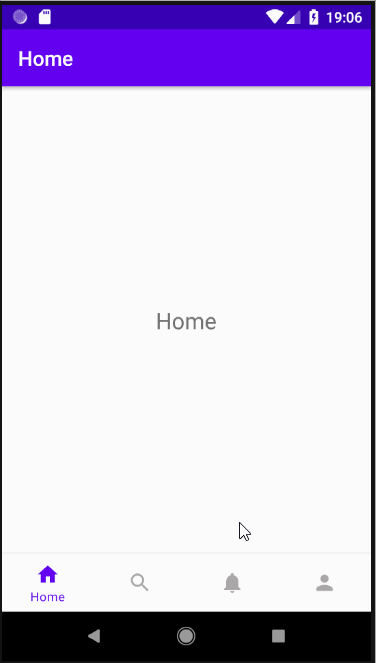
Once you have successfully build and run the project, you will have an app with Bottom Navigation. Here’s the demo of how the app will look like:
☑️ Adding Menu Options in Some Screens
With the single Activity architecture, all Fragments and screens share the same AppBar or Toolbar throughout the whole app. This raises a question that what happens if any particular screen have menu options in its AppBar .
We can easily do it and even customize the toolbar in various screens using the same old Fragments approach. Let’s add a Search option in the SearchFragment of our app.
Open the SearchFragment class of your project and override the onCreate() method first.
{{< gist wajahatkarim3 a533ee800f4af635adf6d2b2c5842921 >}}
The trick here is in the method call setHasOptionsMenu(true) . You need to tell the Fragment that it will show the menu options in the shared AppBar . Now, we need to override onCreateOptionsMenu() to provide the menu resource file. This menu resource file contains the menu options, their titles, and icons.
{{< gist wajahatkarim3 2c1257aaac8f69af6074bc7f2bc0f542 >}}
You will get an error “Unresolved reference search_menu” at this time because you have to create it in the menu resources. Add this menu file in your res/menu directory now.
{{< gist wajahatkarim3 63888134a678ac482f931e87ae127225 >}}
I have added a simple Search option in the screen. You can add more as per your requirement. Now, when you run the app, you will see something like this:
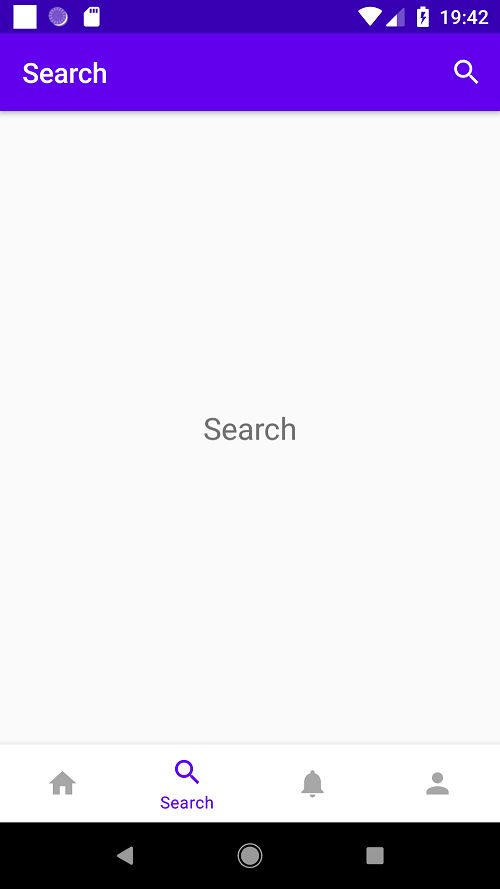
You can observe that only search screen shows the menu options in the AppBar and other screens don’t. You can add the menus similarly in other screens as well. Navigation Components and the Fragments handle this automatically and you don’t need to worry about it much.
🗒 Creating Detail Screens for Some Screens
The core idea behind the design of bottom navigation is that it behaves as the quick directory to 3–5 main parts of the app. After that each part behaves as a separate flow with more child screens related to that section and so on.
The quick solution to create these child screens would be to make other Activity and launch those from the main section screens. But this will break our Single Activity architecture.
And if we do this by using Fragment , then our single Activity contains the BottomNavigationView which will also be shown in the child screens of the app. Let’s discuss this and see how we can implement a details screen for the notification section.
Your code already contains the NotificationsFragmentand NotificationDetailsFragment classes. The Notifications screen contains a simple button with the label “Notification Details” in its layout. We will implement on how we can trigger open the the NotificationDetailsFragment on click of this button.
Open the bottom_nav_graph.xml in the res/navigation directory to see our navigation graph. You should have a graph like this in design view.
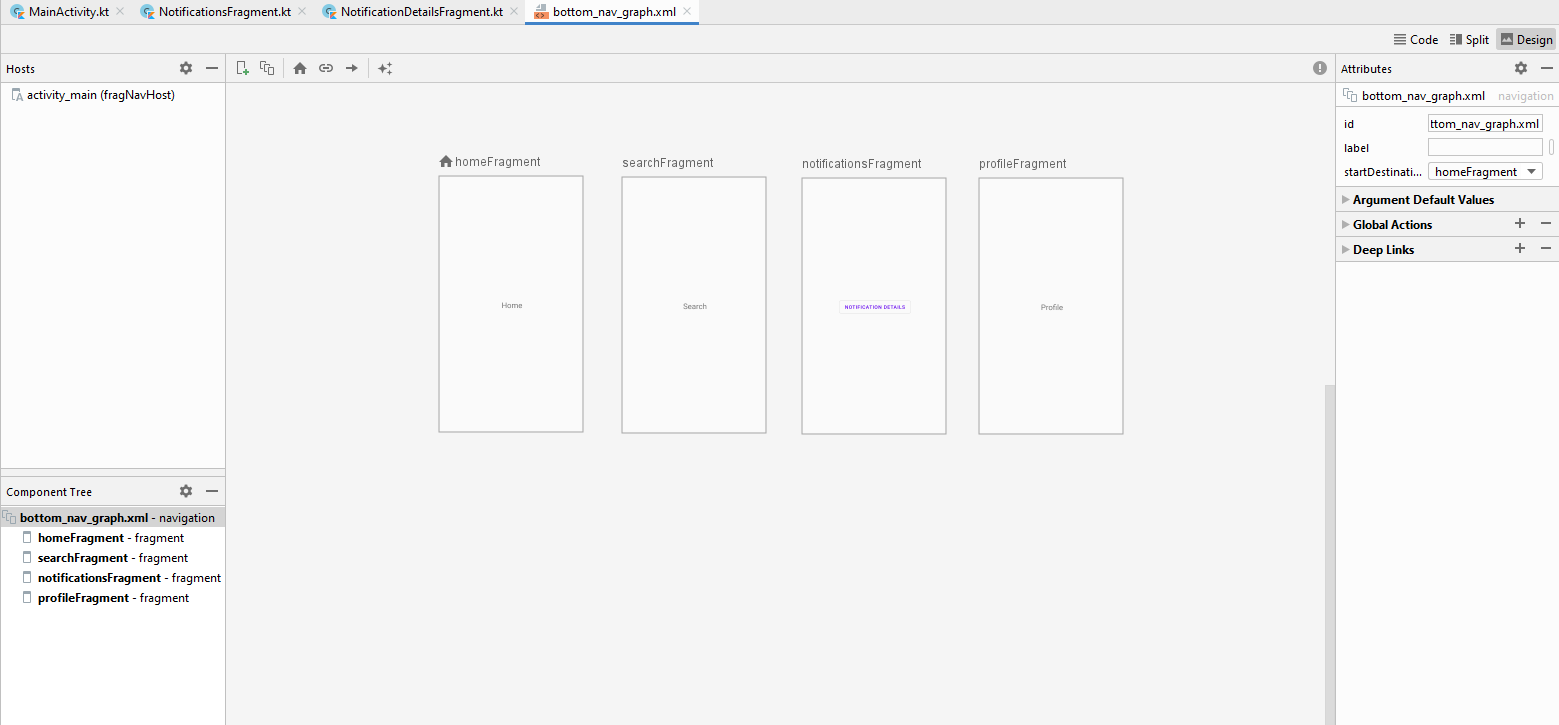
Click on the “New Destination” icon on the top left side of the screen (the one with green plus), and choose fragment_notification_details from the list.
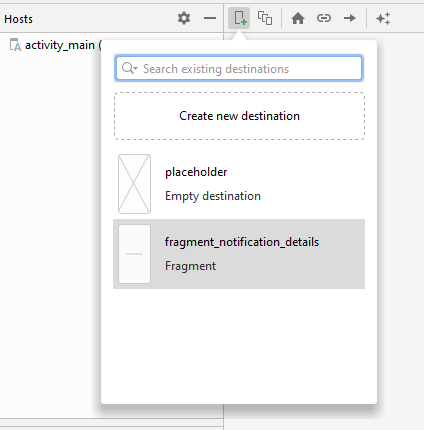
This will add the screen with the ID notificationDetailsFragment on the canvas. Place it below the notificationsFragment vertically by dragging it. Now, we need to create a Navigation Action in order to trigger this screen with Jetpack components. You can create it by dragging the right handle of any screen over other screen. Here’s how you can do it for our Notification to Notification Details action.
{{< image classes="fancybox fig-100" src="https://ik.imagekit.io/z23yf8euyq/1_k-vWfSeXzlSfvdRuL3tkTg.gif" thumbnail="https://ik.imagekit.io/z23yf8euyq/1_k-vWfSeXzlSfvdRuL3tkTg.gif" title="Creating Action from Notification -> Notification Details in Android Studio" >}}
Now you can see in the code that an <action> is created in the notificationsFragment part. Check the lines 25–28 on the following.
{{< gist wajahatkarim3 0bfe6ea392225b1ccccffcc87495e4d0 >}}
Now, our action from Notification to Notification Details is ready. Its time to call it from the code. Open the NotificationFragment class, and add the setupViews() method in the onViewCreated() method. This method will trigger the action by calling findNavController().navigate() method. Here’s the whole NotificationFragment code below.
{{< gist wajahatkarim3 0a05801f15f47cdad04fde6db01af886 >}}
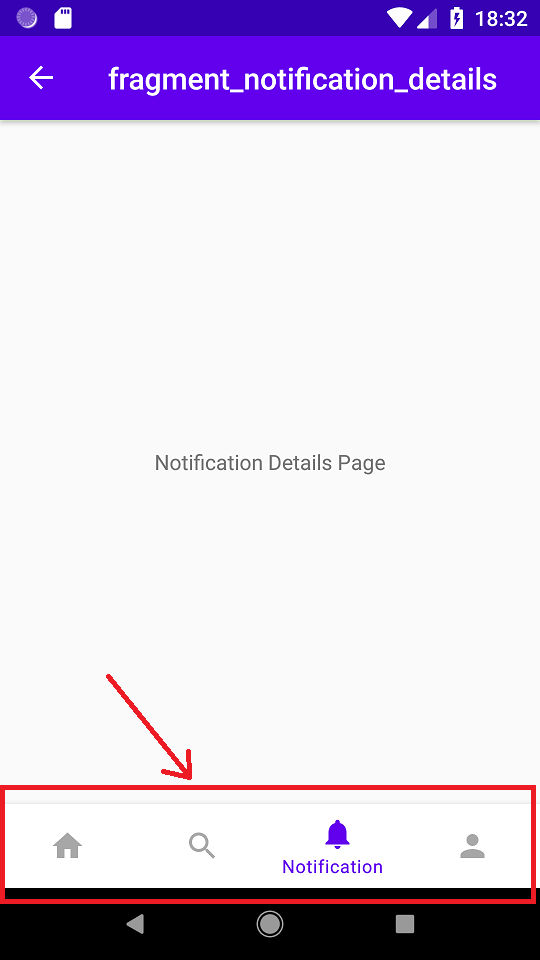
You can see that we are passing the ID of our navigation action in the navigate() method. When you run the app, clicking on Notification Details button shows the details fragment. But there’s a problem. It shouldn’t show the bottom navigation view in the details screen.
Our rest of the navigation flow is good. Pressing on the back button shows the notification screen. And then again pressing back goes to the home as expected. But, we have to hide the bottom navigation in the nested child screens as these are not the main level screens.
The easy way to fix this is to create a method in our MainActivity which allows us to show/hide the BottomNavigationView . Open the MainActivity.kt class and add the following methods in it.
{{< gist wajahatkarim3 8b6d69bfd169a4ea1804bf94365c29fa >}}
Now, call the these methods in the NotificationDetailsFragment in the onAttach() and onDetach() methods like this.
{{< gist wajahatkarim3 44e3c5cdac14a340cd1bf8a03bad8b24 >}}
After running the app, you will observe that there’s no bottom navigation in details screen. So, for any child/nested screens, you need to add this in those Fragment classes. One easy way to simply this would be to create some base fragment like NestedScreenFragment and extend all your nested screens from this. Here’s the demo of the notification details screen.
🛑 Quitting app on Double Back-Press Tap
Finally, let’s discuss on how we can implement the exit on double back-press functionality with the navigation components. To do this, we first need to know when user has reached the Home screen. So that there we show a simple Toast message to notify about pressing back twice and implement our code. Here’s the demo of how it will look like.
We can check the current destination of the whole navigation graph by calling the navController.currentDestination . This will give us the ID of the current destination. We can compare it with our root screen (which is Home). This way, we will know that user is on the root Home screen.
Add this code in your MainActivity.kt file and you can see how it works.
{{< gist wajahatkarim3 2086a5d0bc04004517e4212aafcb3407 >}}
And that’s a wrap today. The final code of this app is available on my Github profile in the master branch at following repository.
🎯 Conclusion & What’s Next
In the previous part, we discussed on how to create a simple bottom navigation using Jetpack Navigation components. In this part, we moved forward and learned on how to add the menu options in some screens, create nested child screens and implemented the double back-press to exit the app.
If you have any questions or some more cases to manage in Bottom Navigation, let me know through comments. And I will explore those and write about it as well.
At the end, please Subscribe to my newsletter DroidUp to get more tutorials and tips on Android development directly in your inbox.