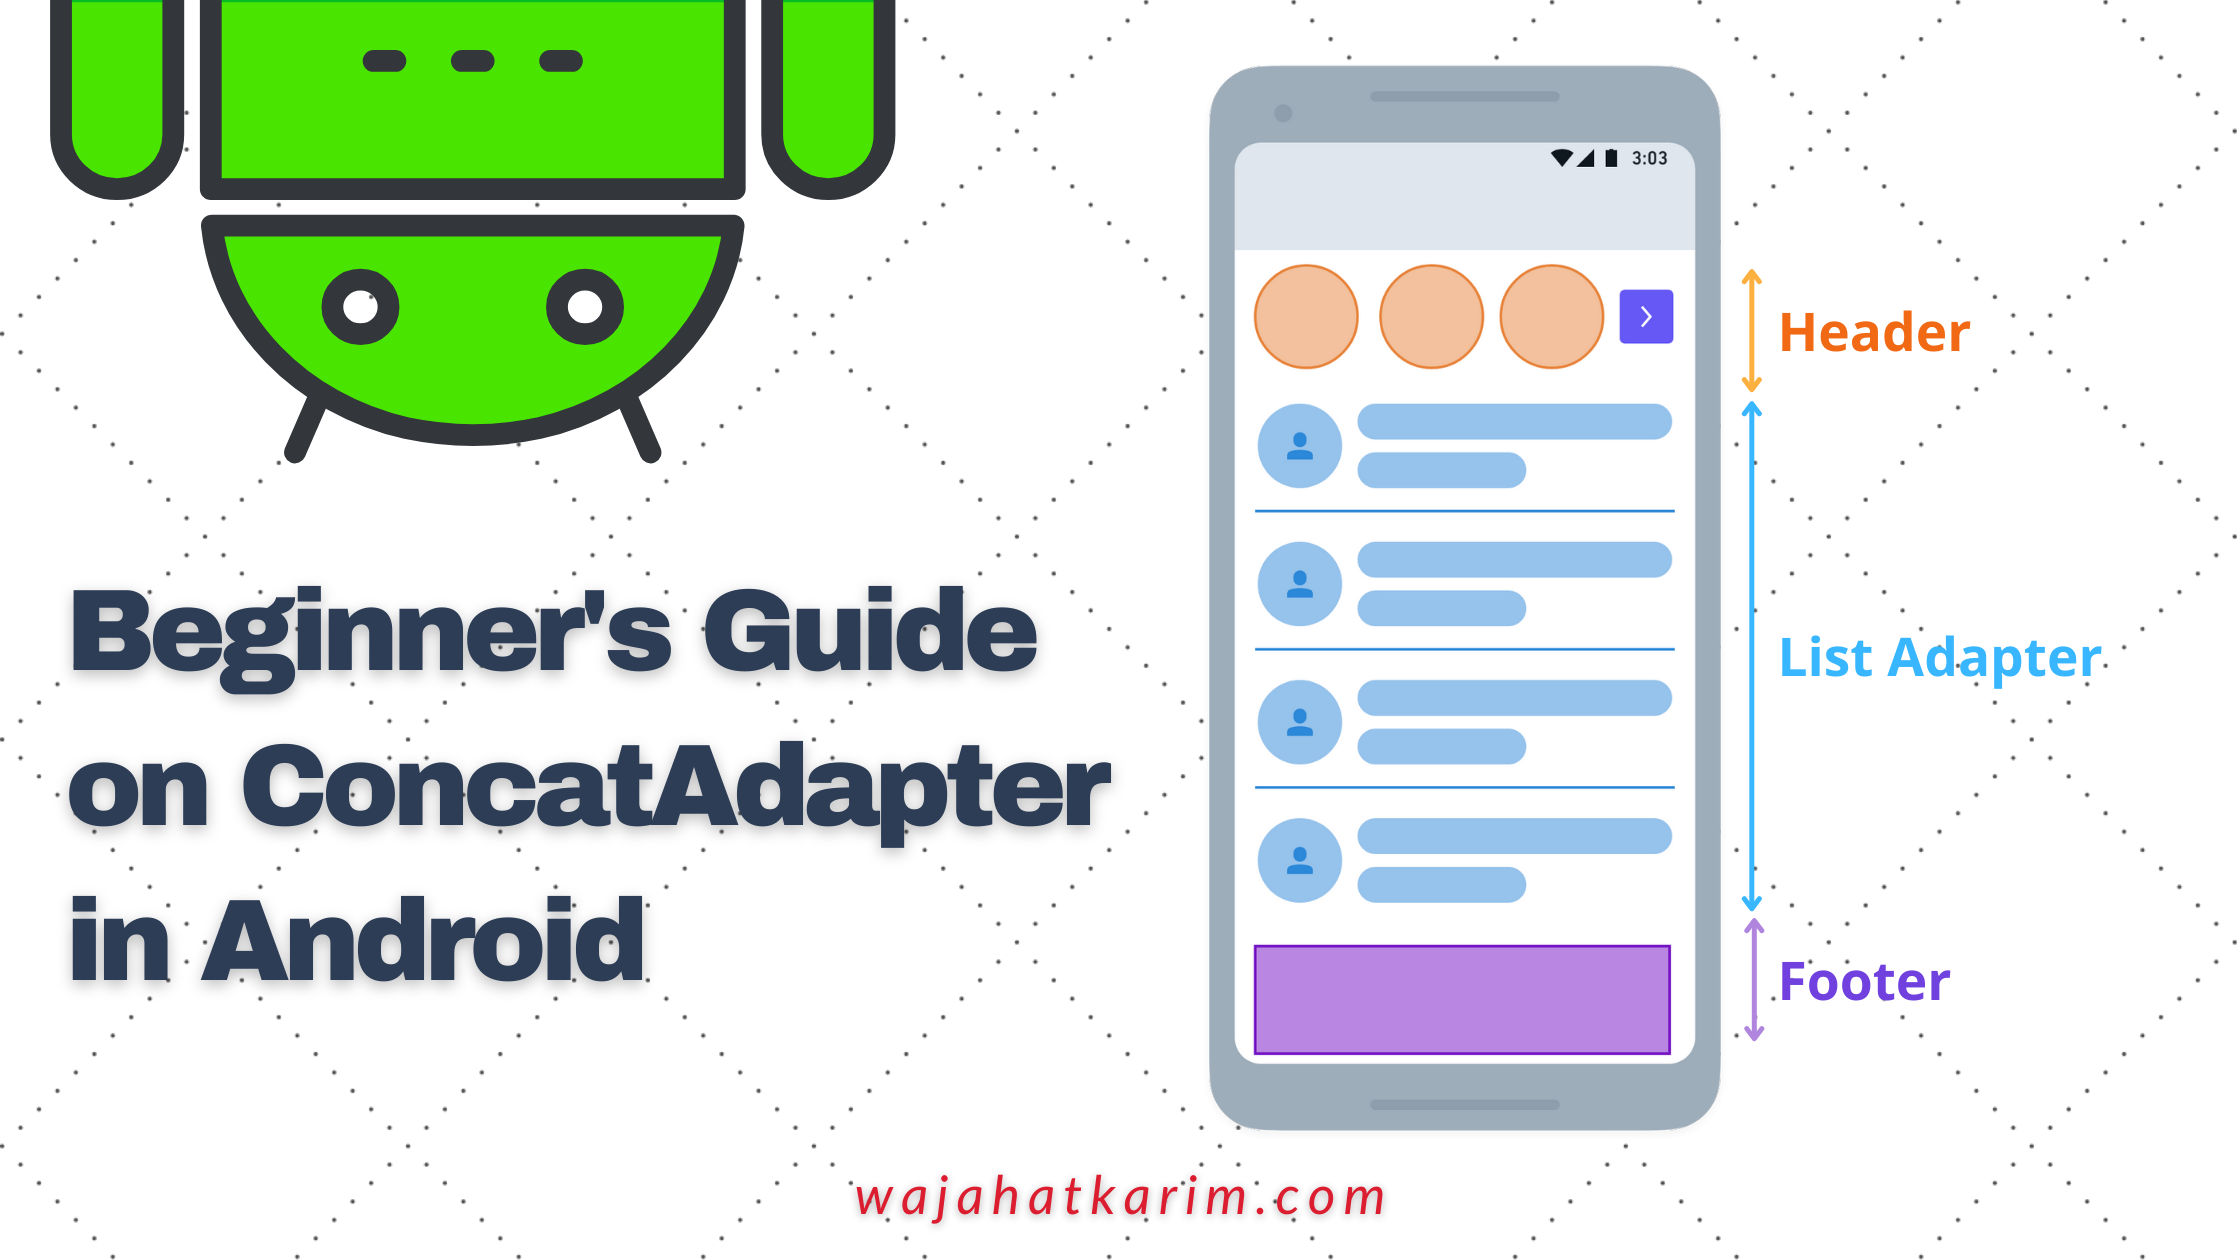
Beginner's Guide on ConcatAdapter in Android
By Wajahat Karim • 06.Jun.2022
Instead of making a number of `RecyclerView`s for each adapter in our app, a class named as `ConcatAdapter` is introduced in `recyclerview:1.2.0-alpha02`. This allows you to combine multiple adapters which display sequentially in a single `RecyclerView`. In this article, you will learn about ConcatAdapter and see how you can merge 3 adapters for a single `RecyclerView` like the image mockup below.
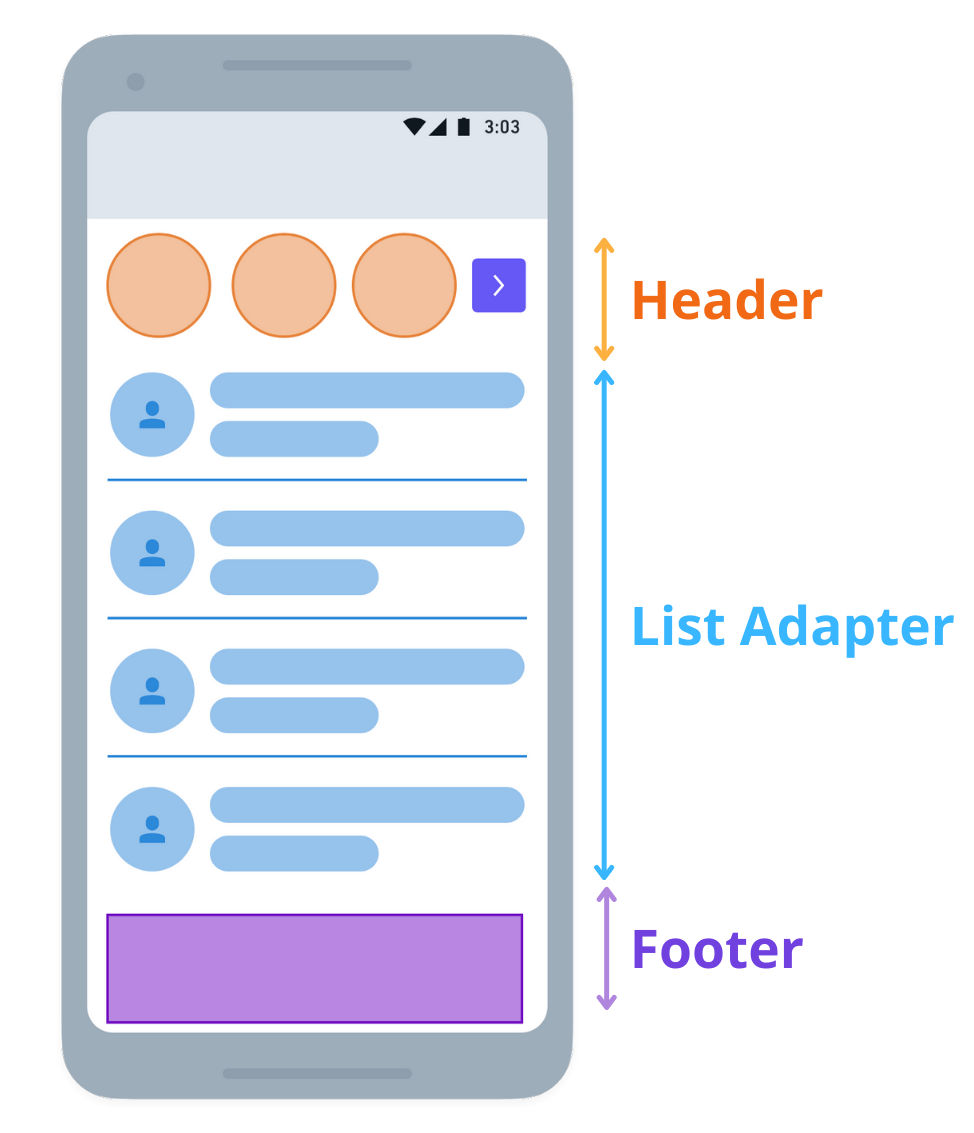
If we use the manual approach, there will be 3 `RecyclerView`s and 3 adapters for **Header**, **Footer** and the **List**. Managing those with separate data, and especially handling the scrolling of all `RecyclerView`s through `NestedScrollView` often becomes tricky and less performant. Pagination in these cases brings another challenge too.
But the ConcatAdapter makes it easier to handle cases like this. We will make an app that will show a list which have a Header, some text in Footer, and finally, a List that displays some random users' info.
Creating Adapters for Header, Footer and The List
Starting with a HeaderAdapter that will show a simple static text, let’s create a RecyclerView.Adapter like the code below:
class HeaderAdapter() :
   RecyclerView.Adapter<HeaderAdapter.ViewHolder>() {

   inner class ViewHolder(val binding: HeaderLayoutBinding) :
       RecyclerView.ViewHolder(binding.root) {   }

   override fun onCreateViewHolder(parent: ViewGroup, viewType: Int):    ViewHolder {
       return ViewHolder(
           HeaderLayoutBinding.inflate(
               LayoutInflater.from(parent.context),
               parent,
               false
           )
       )
   }
   override fun onBindViewHolder(holder: ViewHolder, position: Int) {
       holder.binding.apply {
       }
   }
   override fun getItemCount(): Int {
       return 1
   }
}
Then we have FooterAdapter that contains a dynamic text with the variable name remarks.
class FooterAdapter(val remarks: String) :
   RecyclerView.Adapter<FooterAdapter.ViewHolder>() {


   inner class ViewHolder(val binding: FooterLayoutBinding) :
       RecyclerView.ViewHolder(binding.root) {  }

   override fun onCreateViewHolder(parent: ViewGroup, viewType: Int): ViewHolder {
       return viewHolder(
           FooterLayoutBinding.inflate(
               LayoutInflater.from(parent.context),
               parent,
               false
           )
       )
   }
   override fun onBindViewHolder(holder: ViewHolder, position: Int) {
       holder.binding.apply {
           this.remarks.text = remarks
       }
   }
   override fun getItemCount(): Int {
       return 1
   }
}
And the last one is UserListAdapter which contains some users’ info like pictures, names, and achievements.
class UserListAdapter() : RecyclerView.Adapter<UserListAdapter.ViewHolder>() {
   private var items= emptyList<User>()

   inner class ViewHolder(val binding: UserListItemLayoutBinding) :
       RecyclerView.ViewHolder(binding.root) {    }

   override fun onCreateViewHolder(parent: ViewGroup, viewType: Int): ViewHolder {
       return ViewHolder(
           UserListItemLayoutBinding.inflate(
               LayoutInflater.from(parent.context),
               parent,
               false
           )
       )
   }
   override fun onBindViewHolder(holder: ViewHolder, position: Int) {
       holder.binding.apply {
           this.image.setImageResource(items[position].image)
           this.name.text=items[position].name.toString()
           this.achivements.text = items[position].achievement.toString()
       }
   }
   override fun getItemCount(): Int {
       return items.size
   }
   @SuppressLint("NotifyDataSetChanged")
   fun setUsersListData(itemsList:List<User>){
      this.items=itemsList
      this.notifyDataSetChanged()
   }
}
So that's it for adapters. Now we will move toward the main work of our Activity or Fragment.
Merging Adapters with ConcatAdapter
Inside your Activity or Fragment class, you need to create the instances of all these adapters and populate data into them.
fun setupRecyclerViewAdapters() {
   val headerAdapter = HeaderAdapter()
   val footerAdapter = FooterAdapter("Remarks from your data source")
   val usersAdapter = UsersListAdapter()
   usersAdapter.setUsersListData(someUsersList)
}
In the normal case, you would have to add 3 separate RecyclerViews, but now you only need to add a single RecyclerView in your XML file.
<LinearLayout xmlns:android="http://schemas.android.com/apk/res/android"
   android:layout_width="match_parent"
   android:layout_height="match_parent"
   android:orientation="vertical">

   <androidx.recyclerview.widget.RecyclerView
       android:id="@+id/mainRecyclerView"
       android:layout_width="match_parent"
       android:layout_height="match_parent" />

</LinearLayout>
Now, you need to create an instance of ConcatAdapter and pass all the references of the previous adapters. So add these lines in the above setupRecyclerViewAdapters method.
val concatAdapter = ConcatAdapter(headerAdapter, usersAdapter, footerAdapter)
binding.mainRecyclerView.layoutManager = LinearLayoutManager(this)
binding.mainRecyclerView.adapter = concatAdapter
You can see in the above code that the mainRecyclerView only is setting the concatAdapter. It doesn’t know about the instances of headerAdapter, footerAdapter etc. Those will be managed by ConcatAdapter itself.
Also, note that the order in the constructor of ConcatAdapter is important. If you want to show Footer on top, then pass footerAdapter before headerAdapter and so on. Now, if you call any data update methods of RecyclerView Adapters such as notifyItemChanged, notifyDatasetChanged(), notifyItemAdded() etc, then the whole ConcatAdpter will also be notified. So, you can easily update the data of any adapter at any point, and ConcatAdapter will make sure that updated data is shown in the combined list.
So, in case of pagination, at first you will only add headerAdapter and userListAdapter in the ConcatAdapter. Then you have a paginated list of users. As you reach the last page, then you can add any new Adapter programmatically by calling concatAdapter.addAdapter() etc. You can also remove the adapters with concatAdapter.removeAdapter() method as well.
This is how it will show:

Here’s the final code of the above header/footer/list case.
class MainActivity : AppCompatActivity() {

   private lateinit var binding: ActivityMainBinding
   private lateinit var headerAdapter: HeaderAdapter
   private lateinit var footerAdapter: FooterAdapter
   private lateinit var listAdapter: ListAdapter

   override fun onCreate(savedInstanceState: Bundle?) {
        super.onCreate(savedInstanceState)
        binding = ActivityMainBinding.inflate(layoutInflater)
        setContentView(binding.root)
        setupRecyclerViewAdapters()
   }

   fun setupRecyclerViewAdapters() {
        val headerAdapter = HeaderAdapter()
        val footerAdapter = FooterAdapter("Remarks from your data source")
        val usersAdapter = UsersListAdapter()
        usersAdapter.setUsersListData(someUsersList)

        val concatAdapter = ConcatAdapter(headerAdapter, usersAdapter, footerAdapter)
        binding.recyclerViewRv.layoutManager = LinearLayoutManager(this)
        binding.recyclerViewRv.adapter = adapter
   }
}
What’s Next?
I hope you understood the concept of how ConcatAdapter works and how you can merge multiple adapters to create a single list. I would love to hear your feedback, so leave a comment below and share with others!
At the end, please Subscribe to my newsletter DroidUp to learn learn about the latest things, tips, and skills in Android development manually handcrafted and curated by Wajahat Karim.