📚Learning ConstraintLayout — 🚀Live Templates for Rescue 🚒
Save time and improve productivity by using Live Templates for ConstraintLayout
With more than 2.5 billion active android devices today, it has become a challenging task to create a fully responsive user interface (UI) for Android developers. Each device comes with different screen sizes, density, aspect ratio etc. But everyone wants to their apps to look exactly same on all devices.
As Android ecosystem started growing year by year, Google started focusing more on solving problems of developers rather than adding new features. This led to the beginning of ConstraintLayout introduced first at Google IO 2016.
ConstraintLayout is a android.view.ViewGroup to efficiently arrange layouts for all sorts of screen sizes across different versions of Android without any nesting and complicated hierarchies and in a very flexible and easier way.
In this series of multiple articles, we are going to learn about different tricks and tips of ConstraintLayout and how to create awesome layouts on Android.
😐 ConstraintLayout in Normal Way
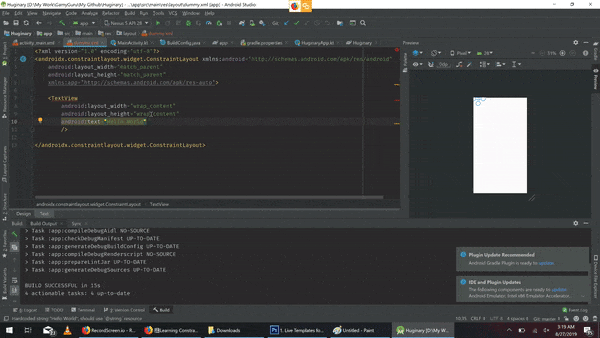
ConstraintLayout brings us a with a number of attributes and properties called as Constraints to help us make complex layouts. These attributes have big names such as layout_constraintTop_toTopOf or layout_constraintStart_toEndOf and so on. For the beginners, this might get confusing and maybe overwhelming. Here’s how a TextView is center on the whole screen.
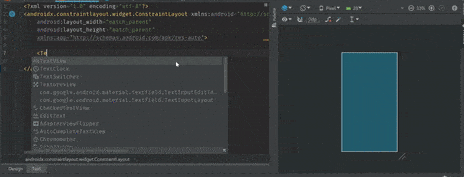
You can see that just to view the correct suggestion in auto-complete, we need to enter many characters. So, if you prefer XML / Text view more than Design view, then continue reading this article and see you can speed up working with ConstraintLayout.
🚒 Live Templates for Rescue
Live Templates are the code snippets that you can insert into code by typing their abbreviation and pressing tabor enter. You can view them in File -> Settings -> Editor -> Live Templates section in Android Studio.
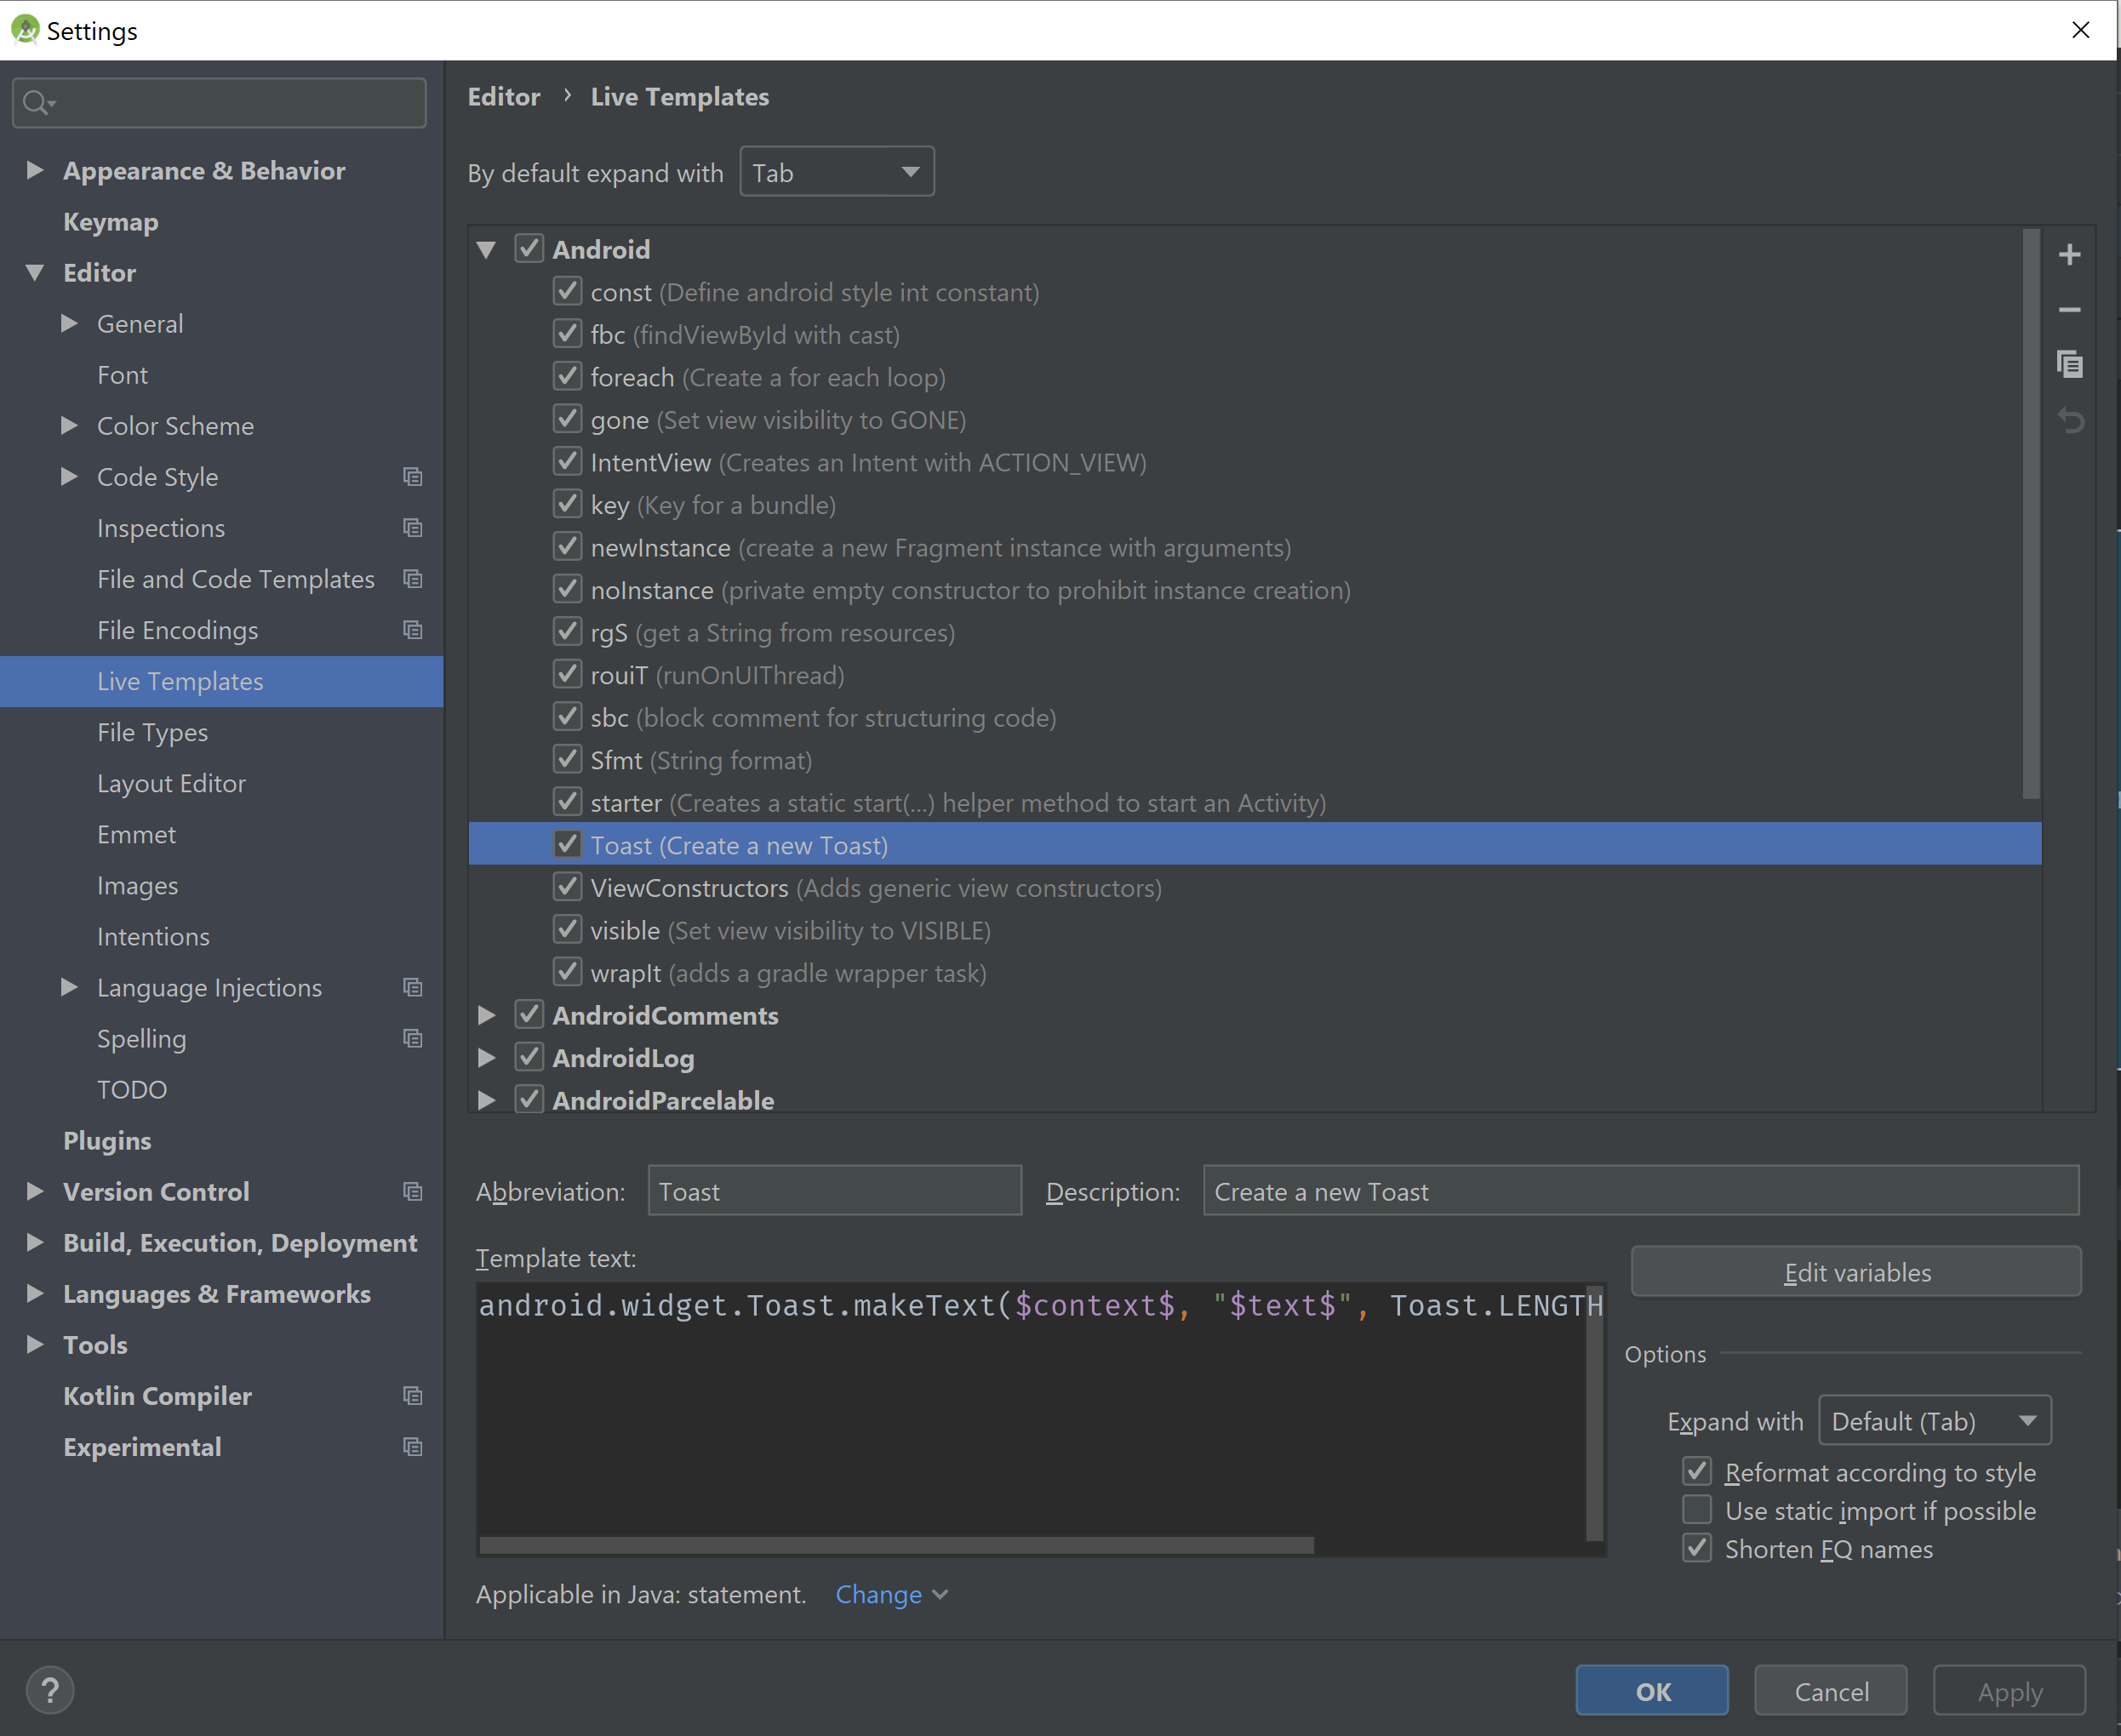
As you can see in the image above, there are already many templates such as Toast , visible added by Android Studio. You can create your own templates by clicking on the plus (+) button on the top right or import the ones from the internet.
You can read more about Live Templates here.
I’m going to share few live templates in this article to accelerate the work with ConstraintLayout and show you how they will work.
➕ Importing ConstraintLayout Live Templates
First, download the ConstraintLayout Live Templates from the following link.
Choose File > Import Settings from the menu.
Specify the path to the archive with the exported live template configuration.
In the Import Settings dialog, select the Live templates checkbox and click OK.
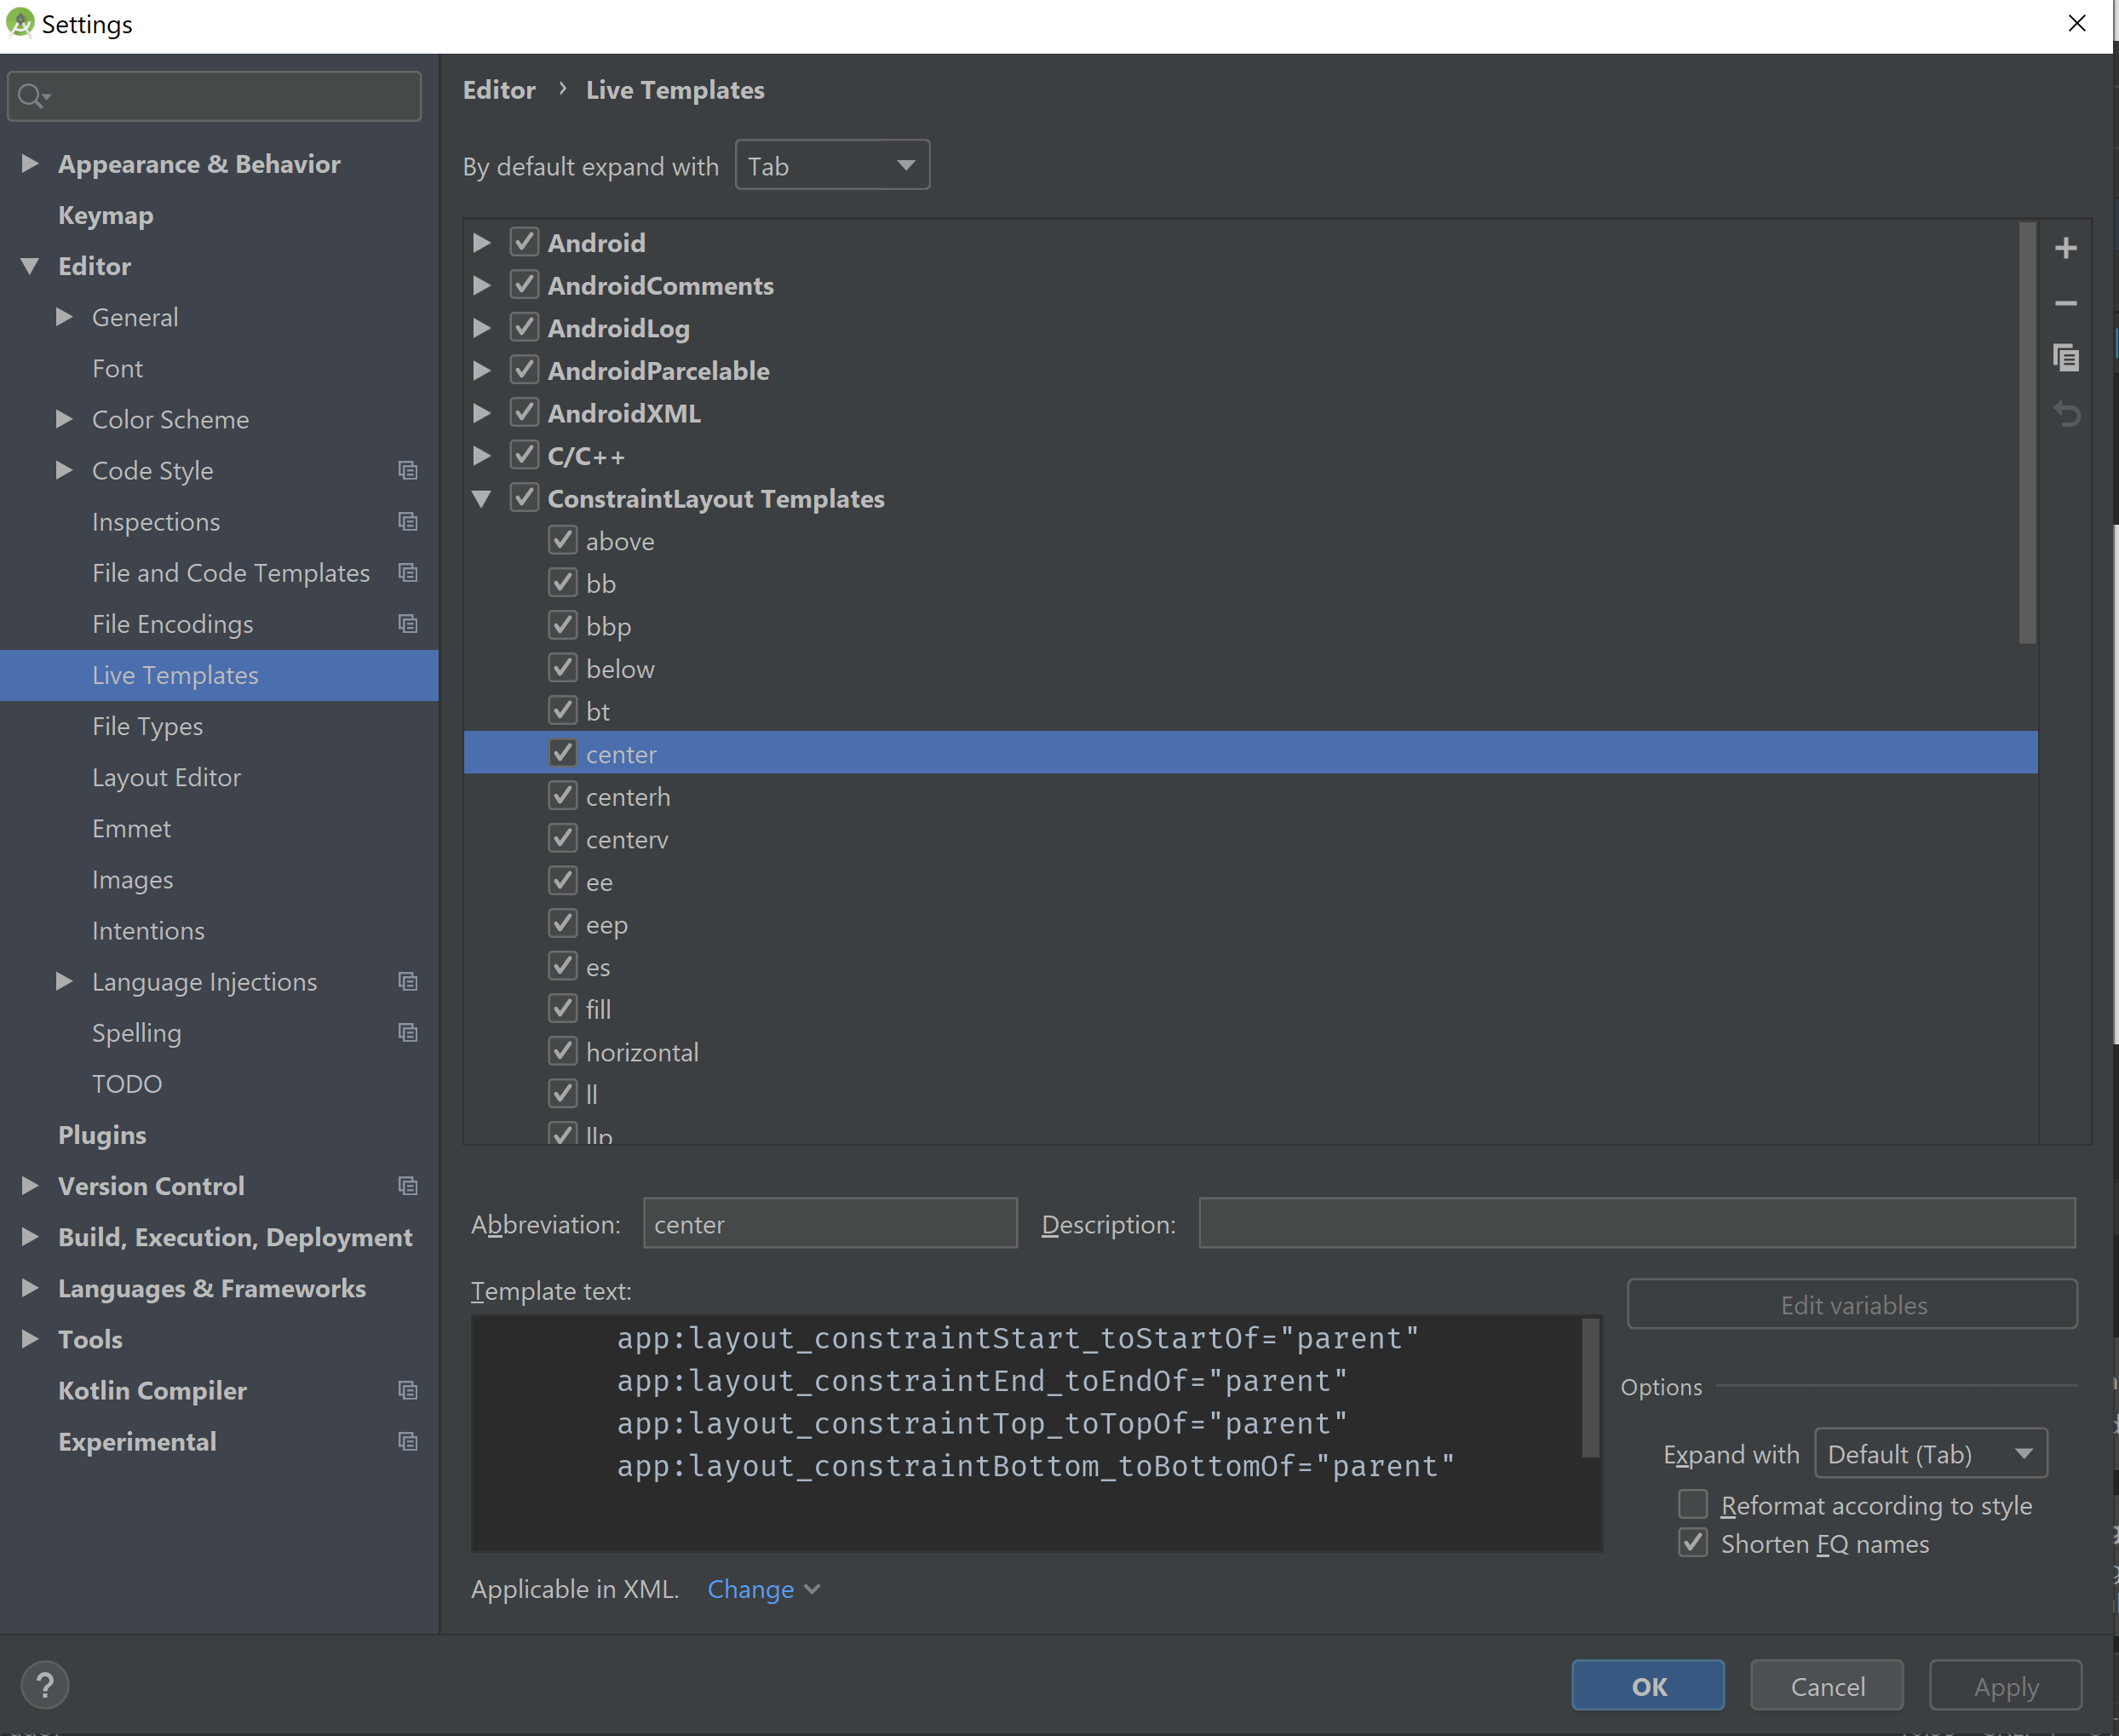
After restarting Android Studio, you will see the imported live templates on the File > Settings > Editor > Live Templates > ConstraintLayout Templates page in Android Studio.
Now, let’s try some of these and see what happens.
✏️How to Use — Some Examples
center
The center template will put any view in the center of parent in the layout. Let’s try the TextView example now with center abbreviation. Instead of typing app:layout_constraintStart_toStartOf , app:layout_constraintEnd_toEndOf , app:layout_constraintTop_toTopOf , and app:layout_constraintBottom_toBottomOf , we will simply type center and press Enter. And voila.
The center template adds these lines in your XML layouts.
    app:layout_constraintTop_toTopOf=”parent”
    app:layout_constraintBottom_toBottomOf=”parent”
    app:layout_constraintStart_toStartOf=”parent”
    app:layout_constraintEnd_toEndOf=”parent”
centerh
The ceneterh positions your view in the center of the parent horizontally by adding these lines.
```app:layout_constraintStart_toStartOf=”parent”
app:layout_constraintEnd_toEndOf=”parent”```
centerv
The **centerv **positions your view in the center of the parent vertically by adding these lines.
app:layout_constraintTop_toTopOf=”parent”
app:layout_constraintBottom_toBottomOf=”parent”
vertical
The **vertical **will position your view in the center of another **View **instead of *parent *vertically by adding these lines.
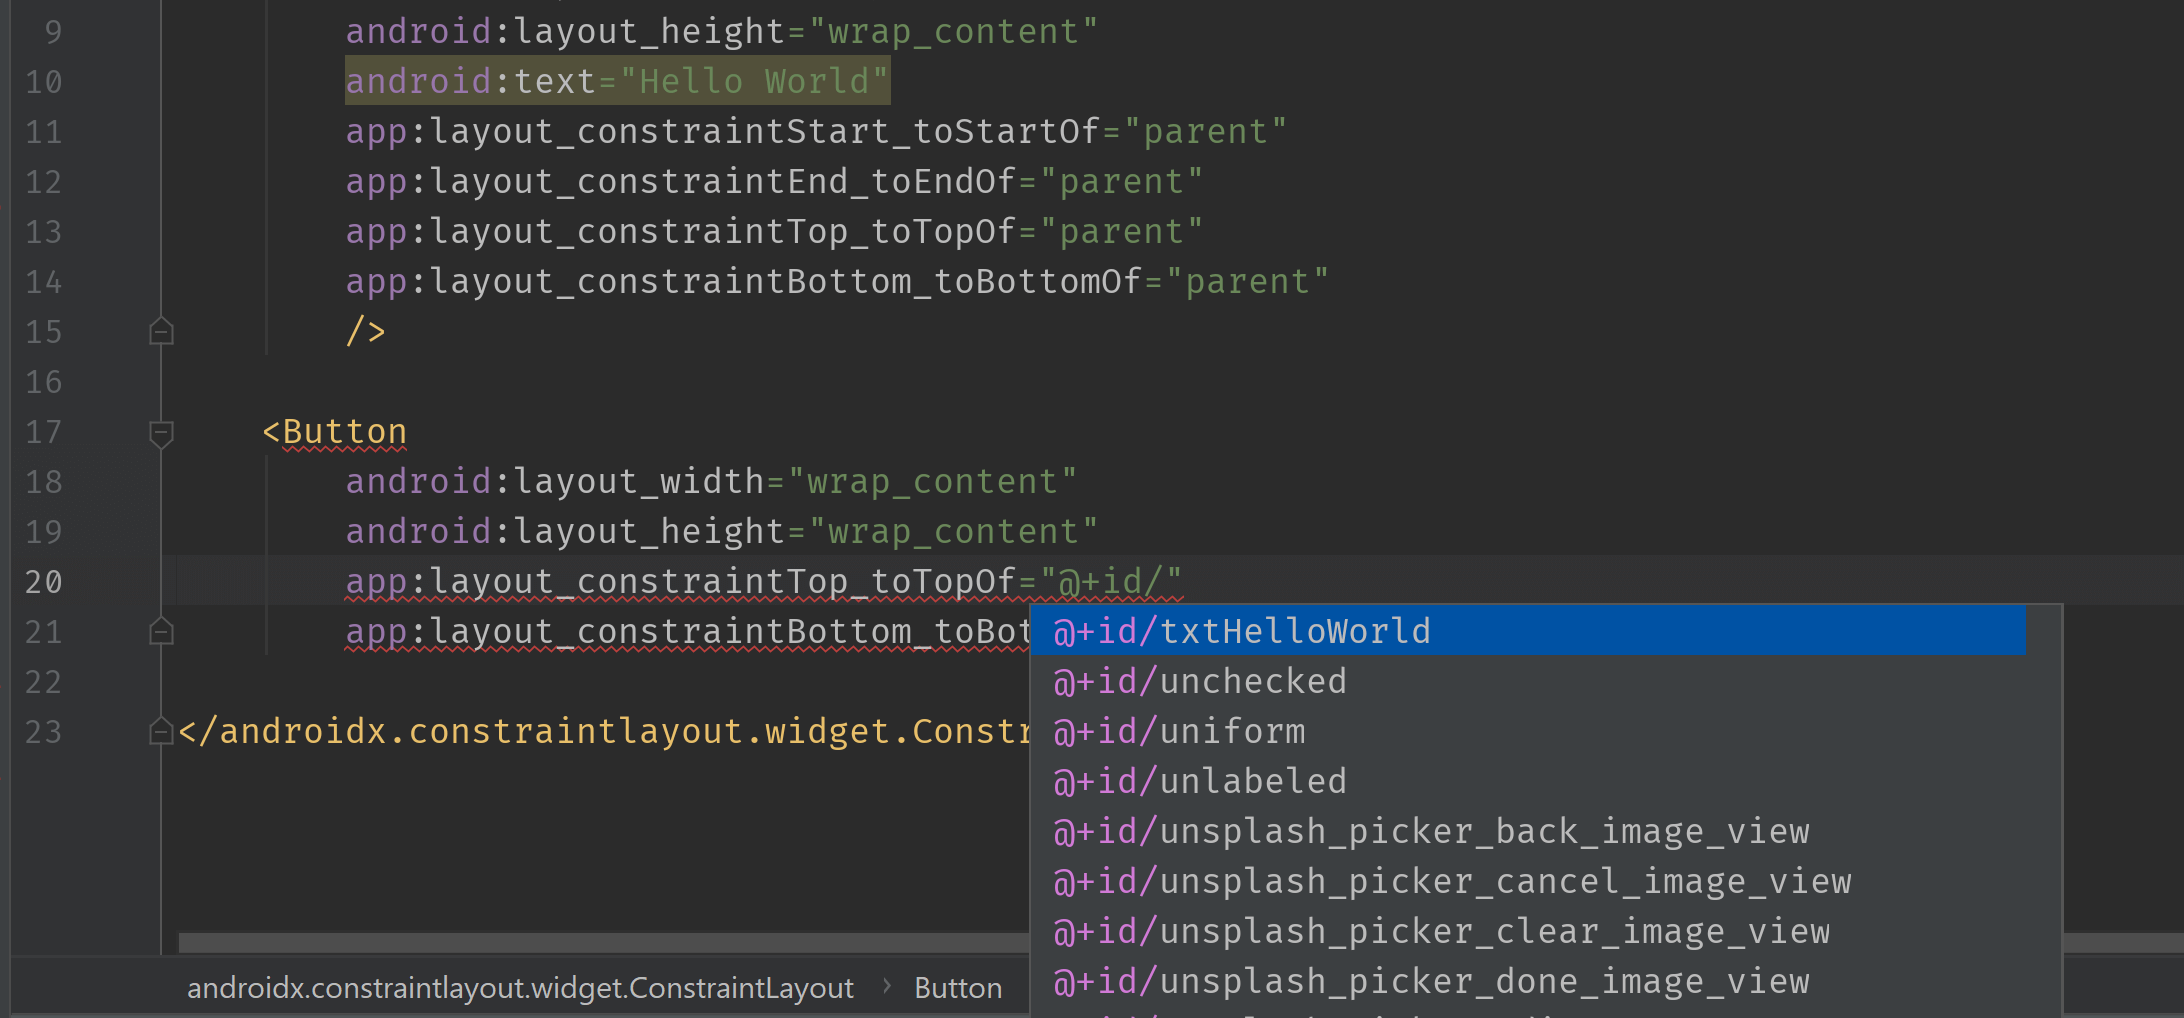
app:layout_constraintTop_toTopOf=”@+id/VIEW_ID_GOES_HERE”
app:layout_constraintBottom_toBottomOf=”@+id/VIEW_ID_GOES_HERE”
Please note the **VIEW_ID_GOES_HERE **in the above code snippet. This will be asked by Android Studio by showing all the most relevant IDs in the suggestions box as shown below.
horizontal
Same as **vertical **but for the horizontal. This will position your view in the center horizontally to another view by adding these lines.
app:layout_constraintStart_toStartOf=”@+id/VIEW_ID_GOES_HERE”
app:layout_constraintEnd_toEndOf=”@+id/VIEW_ID_GOES_HERE”
📃 ConstraintLayout Live Templates in One Place
I’ve created a table document below to describe all the ConstraintLayout templates with their descriptions. You can try out on your compiler and see how they work. You can even customize their names, their values or even add your own new templates in **Live Templates settings **in Android Studio.
Once again, download the ConstraintLayout Live Templates from the following link and enjoy the faster implementation of complex layouts through ConstraintLayouts.
If you liked this article, you can read my new articles below:


🔥 Google Developer Expert (GDE) in Android . 📱 Professional Android Developer with ~10 years experience. 💻 Creator of various Open Source libraries on Android . 📝 Author of two technical books and 100+ articles on Android. 🎤 A passionate Public Speaker giving talks all over the world.

